Table of Contents
- Azure Logic App
- Creation of Azure Logic App
- Creation of Blank Logic App
- Video Tutorial
Azure logic app
Azure Logic App is a cloud service that helps the user to schedule, automate or orchestrate tasks, business processes, and work flow. Logic apps simplify the process of design and decide on the scalable solution for App Integration, Data Integration, System Integration, Enterprise Application Integration, and Business to Business Communication. In an enterprise, there is a need for B2B communication and within an application the need for communication with each other arises. Azure Logic App will provide a simplified solution for the same.
Creation of azure logic app
The first step in the process of creating the Azure Logic App is to log into the Azure portal using the user’s credentials. The option called ‘Create Resource’ located at the top of the page must be clicked after which the Logic App must be searched for on the search tab.

It will redirect the user to the overview page that lists out the plans that are available for the logic app. To create a brand new logic app, the option called ‘Create’ located at the top of the page must be selected.
The following list depicts the subsections of information that the user will be required to fill out when creating a new logic app –
- Name – Name of the Logic App
- Subscription – The type of subscription desired must be specified.
- Resource Group – There is an option to either create a new resource group or use an existing group.
- Location – The location in which the resource group is created.
- Log Analytics – On / Off
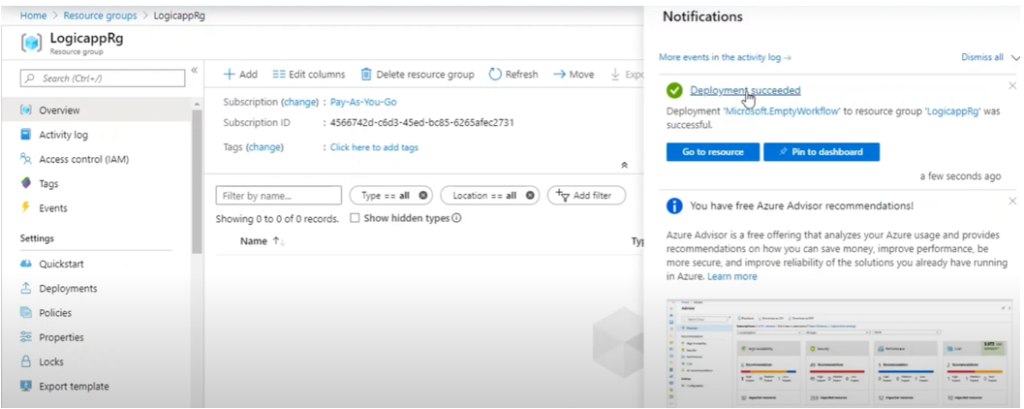
The final step is to click on the option called ‘Create’ located at the bottom of the screen. It will take a while to create the logic app and once the deployment status shows approved, the same will be reflected on the logic app page.
The user can start with a blank logic app. In the quick start, a logic app can be built in such a way that will regularly check a website for a new item. If a new item exists, then the logic app will send an E-Mail for each item. For this particular scenario, the user will need an E-Mail account that may be an Office 365, Outlook or Google Mail, etc.
Creation of blank logic app
The first step is to search for RSS Feed which is a news based service. The RSS Feed Trigger should now be added. When a feed item is published, the user will be required to send an E – Mail. A connection will be created for RSS. The following will be the information that will need to be entered in by the user –
- The RSS Feed URL
- The Frequency of Checking for Items – User can choose the Interval and the Frequency as well as add a new parameter. This will trigger an E – Mail for the user. The next step is to click on the ‘Save’ button.
The next step is adding the E-Mail option. This can be done by searching the term on the search bar located on the top of the screen reading ‘Choose and Action’ and it will display all the available options. If for example, Office 365 Outlook has been chosen, the options available under ‘Action’ are numerous such as Create Contact, Create Event, Delete Contact and Delete Event etc. In this case, the user will be required to send an E-Mail. The option called ‘Send E-Mail’ of the V2 version can be chosen after which the user will be expected to sign in to Office 365 Outlook.
After successfully logging in, the connection can be seen and can also be changed.
The ‘To’ address can also be configured in the E-Mail. Once it is ready, the logic app can be run, and now whenever a new feed is published in the RSS feed, a notification will be sent through the E-Mail.

Video Tutorial